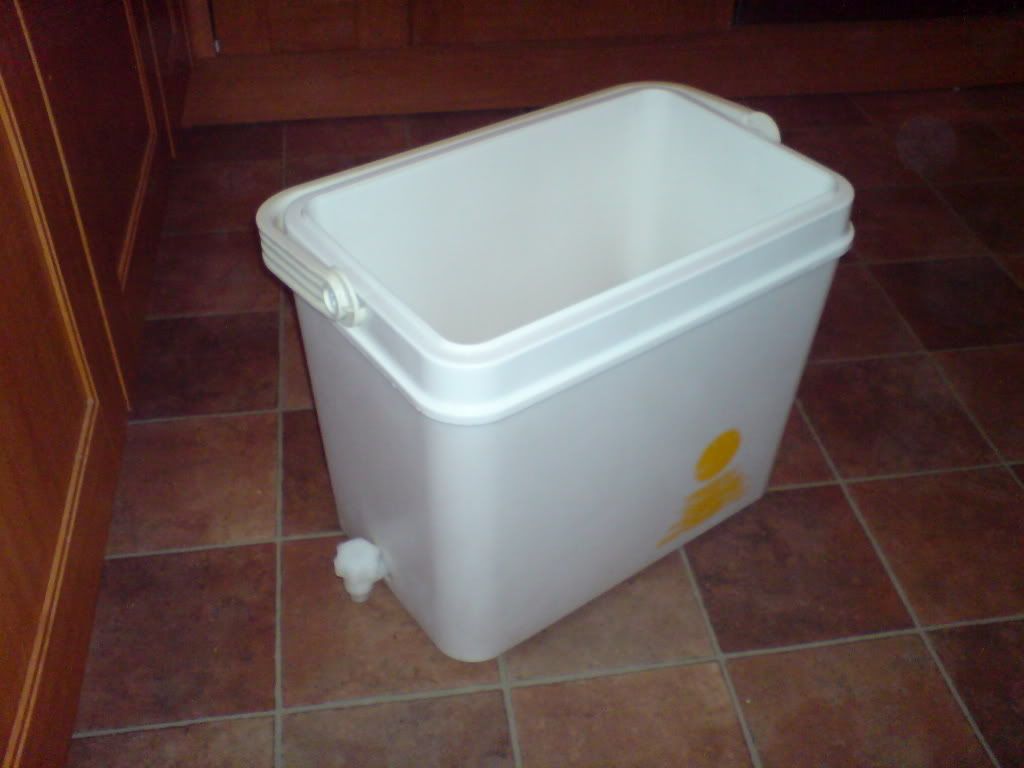
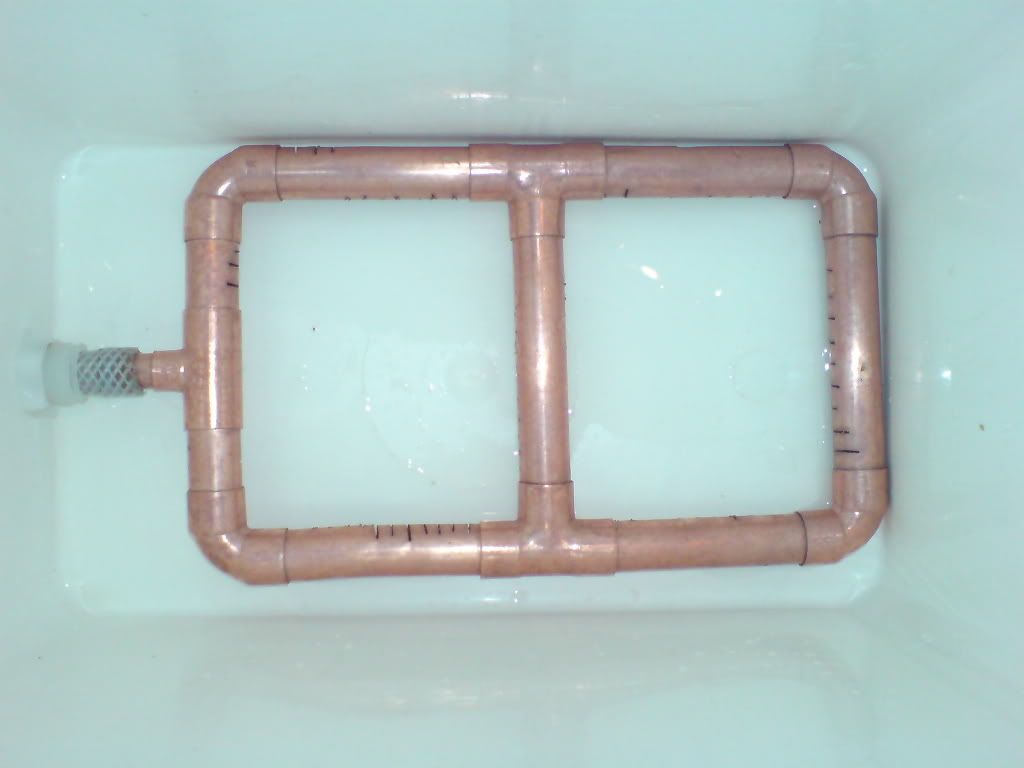
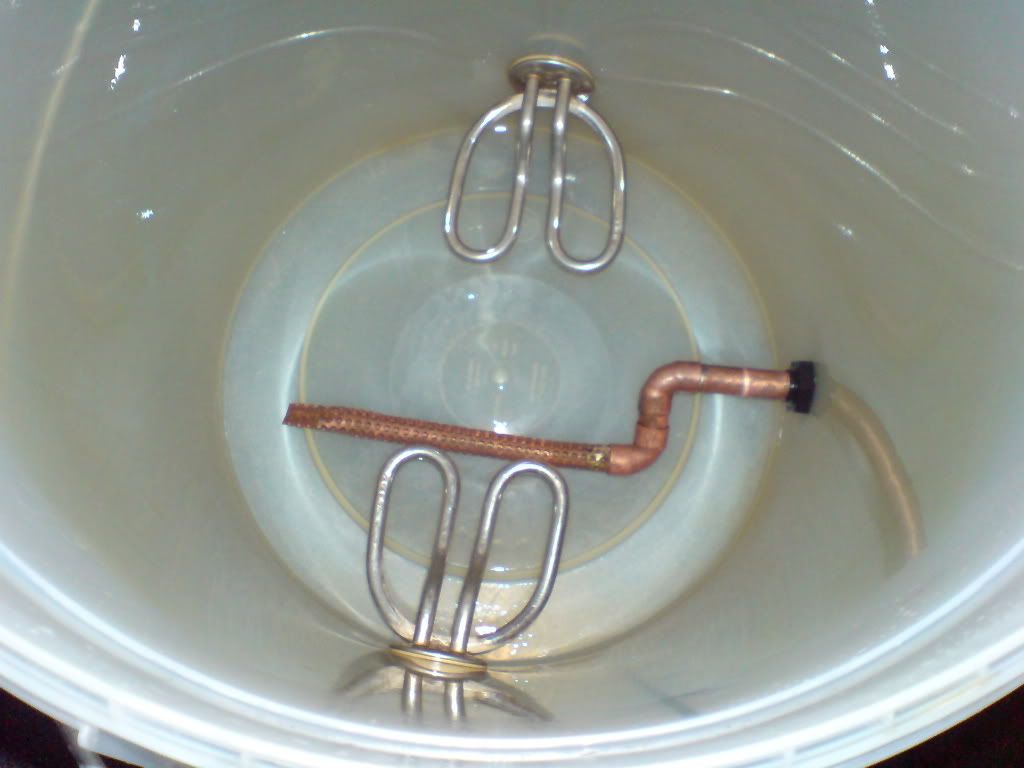
Equipment wise the major change was the addition of an 80L stainless steel tun, this is a thermobox from Nordic Optical kindly converted to be a bottom drained tun by user Muddydisco from thehomebrewforum there is a great thread posted there showing it's construction from start to finish which you can see by following the link here I have fitted a stainless steel false bottom which was custom made for me by John at homebrew shop Hop & Grape, although Muddydisco has also now started to make these too! Other than that I have fitted a sight tube to my HLT which has made life loads easier!
1st Brew In The New Tun
I decided to christen the new tun with a batch of my house ESB "Big Kenny"
Target 60L FV
Target 1.050
Target 30IBU
90 min 66c Mash
90 min Boil
97% Pale Malt (12.2kg)
1.5% Crystal Malt 120L (190gm)
1.0% Roasted Barley (130gm)
0.5% Chocolate Malt (65gm)
2.5tsp Gypsum
Challenger to 30 IBU
60g Bobek at 15 Mins
2tsp Gyspum
Fermenting with 2x 11g sachets of Nottingham
 The brew went quite well, there were a few issues which I need to fix for the next brew, the biggest issue was the amount of grain particles that got past the false bottom, I've traced the problem and fixed it (I hope) but for this brew I had to pump back from the boiler to a cleaned out tun through a fine SS mesh and then back again to the boiler, again through a fine mesh to get the particles out. Something I'd rather not have had to have done! I'll also be wrapping the boiler in silver bubble insulation to decrease the amount of time it's taking to come to the boil. The picture here shows the fly sparge, gravity feeding water from the HLT to a spinney sparger and pumping out at the same rate to the boiler.
I backed off the boil strength a little and ran on one element, this mean that my losses were much less and from the 85L pre boil volume I ended up with 70L into the "fermenter" the OG was 1.048 which I'm happy with, I'd assumed a 75% brew house efficiency being the first brew, this volume and strength works out at around 85% which is quite good I think for a first brew with new equipment.
Why Waste The SS Tun?
 Rather than ferment in my plastic fermenters I'm trying a new approach, the beer is being fermented in the thermobox tun! I have dropped an aquarium heater set to 18c in the "fermento-tun" and also placed a short piece of copper tube into the drain on the tun, the reason for this is so that when I come to draw the fermented beer out I'm hoping that the yeast cake will be just below this point so I'll be drawing beer and not yeast, we will see! As you can see from this picture fermentation has started well, tonight it's sat bang on 18c and is down 28 points to 1.020.